Description
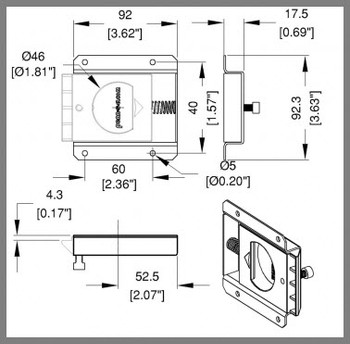
Quick Lid™ Latch - This special internal finger-operated latch is used as part of our Quick Lid™ System.
This particular finger-operated latch installs on the inside of the Quick Lid™ Panel. A small finger access hole cutout is required in the case wall. This allows operation of the push-down latch mechanism, which catches on the inner lip of our custom Quick Lid™ Extrusion. This particular latch should be used with our CNSE0490 Quick Lid™ Extrusion, CNSC0675/30 Quick Lid™ Corner, and CNSP2472 Quick Lid™ Hook Plate. Contact us if you have any questions about implementing this system and its components. See how it works below.
THIS ITEM REQUIRES ONE SMALL CUTOUT IN THE CASE PANEL TO ACCESS & OPERATE THE PUSH-DOWN LATCH MECHANISM .
ASSOCIATED COMPATIBLE PARTS:
E0490 Quick Lid™ Extrusion
C0675/30 Quick Lid™ Corner
P2472 Quick Lid™ Hook Plate
#1 - The front, back, or top panel of the case is an inset removable panel held in place by a custom extrusion, custom two-leg corners, specially designed hook plates, and a spring-loaded internal latch. Multiple latches may be used for larger panels.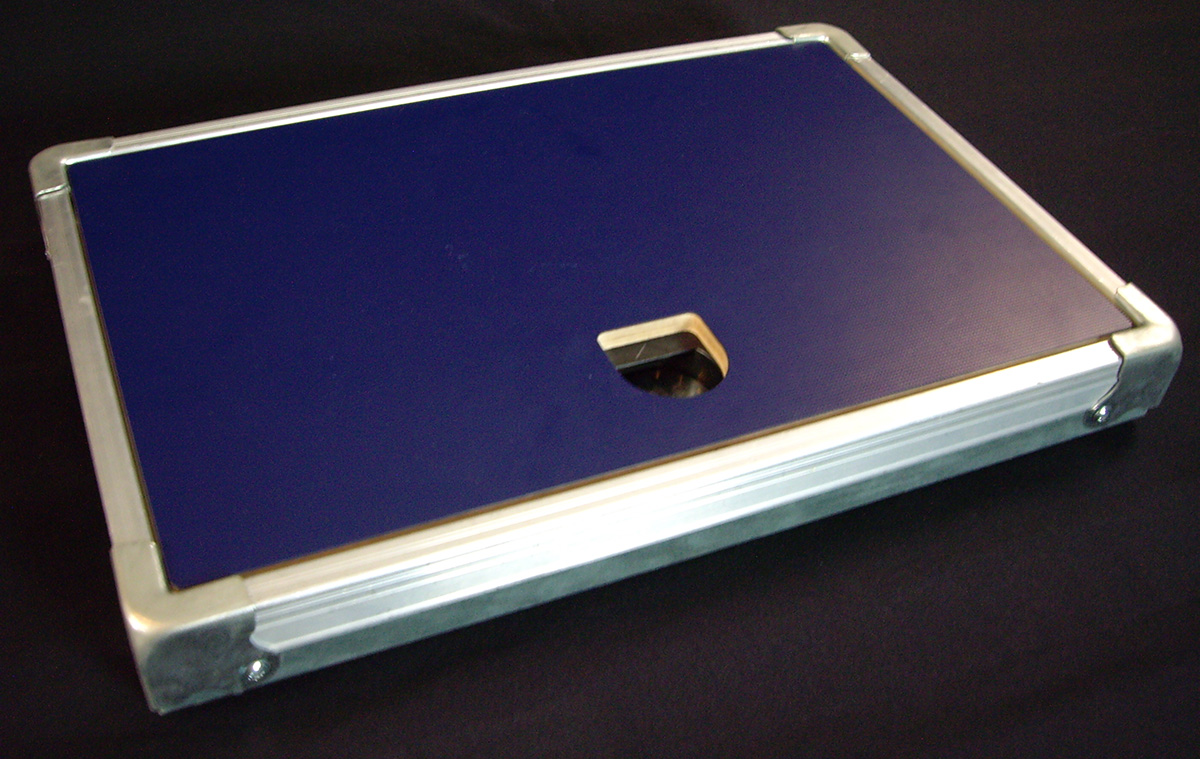
#2 - Stick your finger into the access hole for the internal latch and push down on the internal spring-loaded latch mechanism to release the panel from the custom extrusion framework.
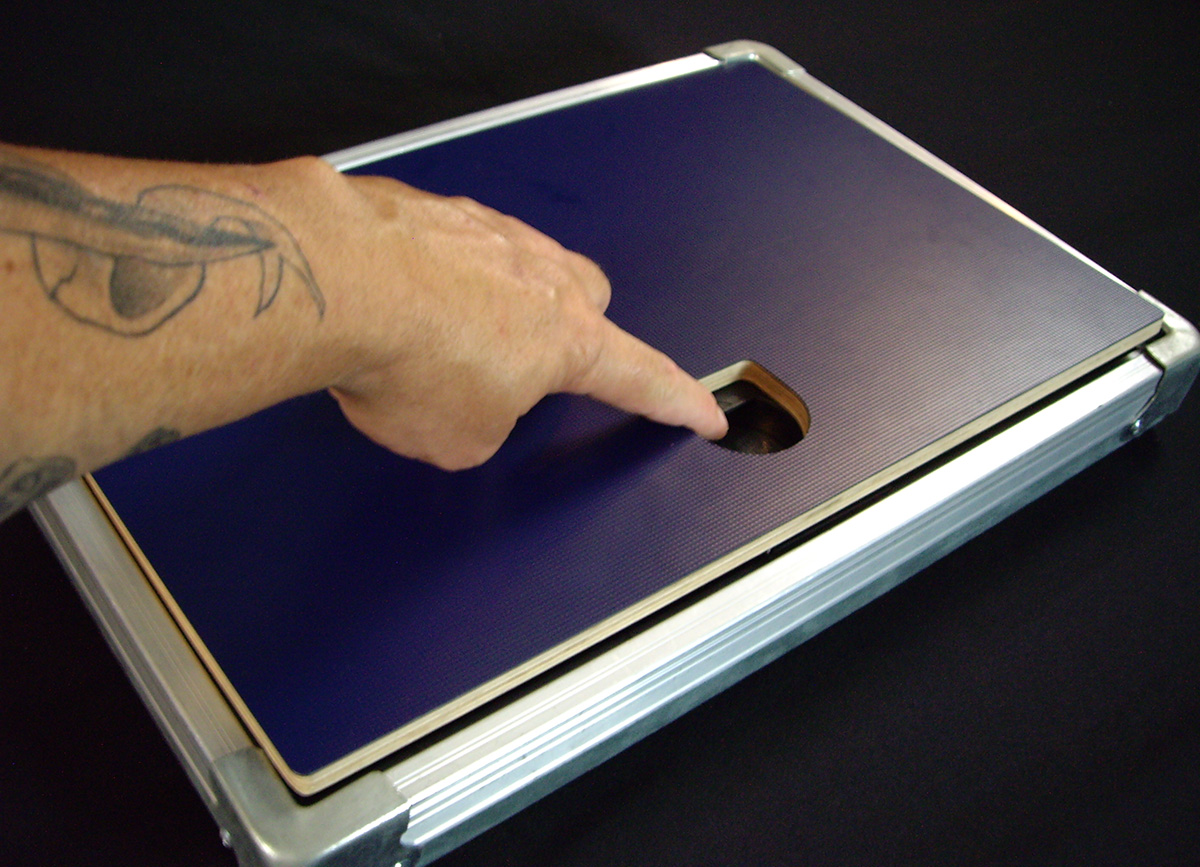
#3 - Pull the removable panel from the custom extrusion framework.
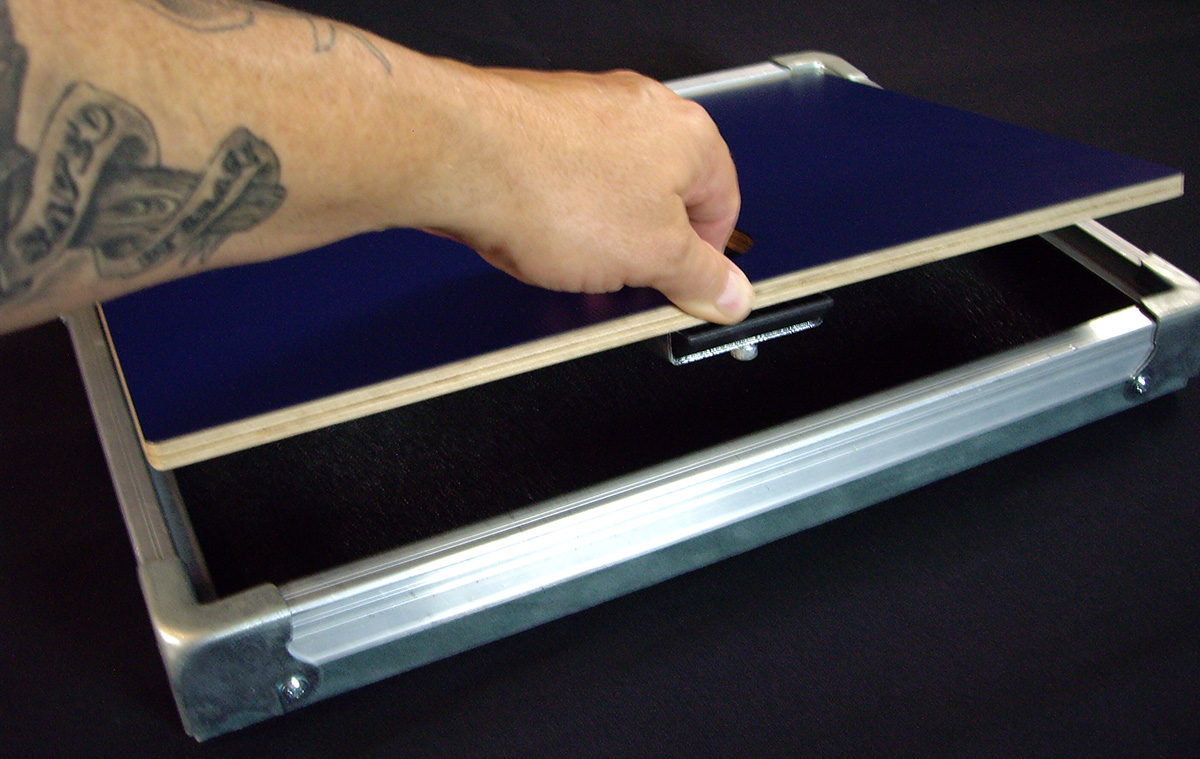
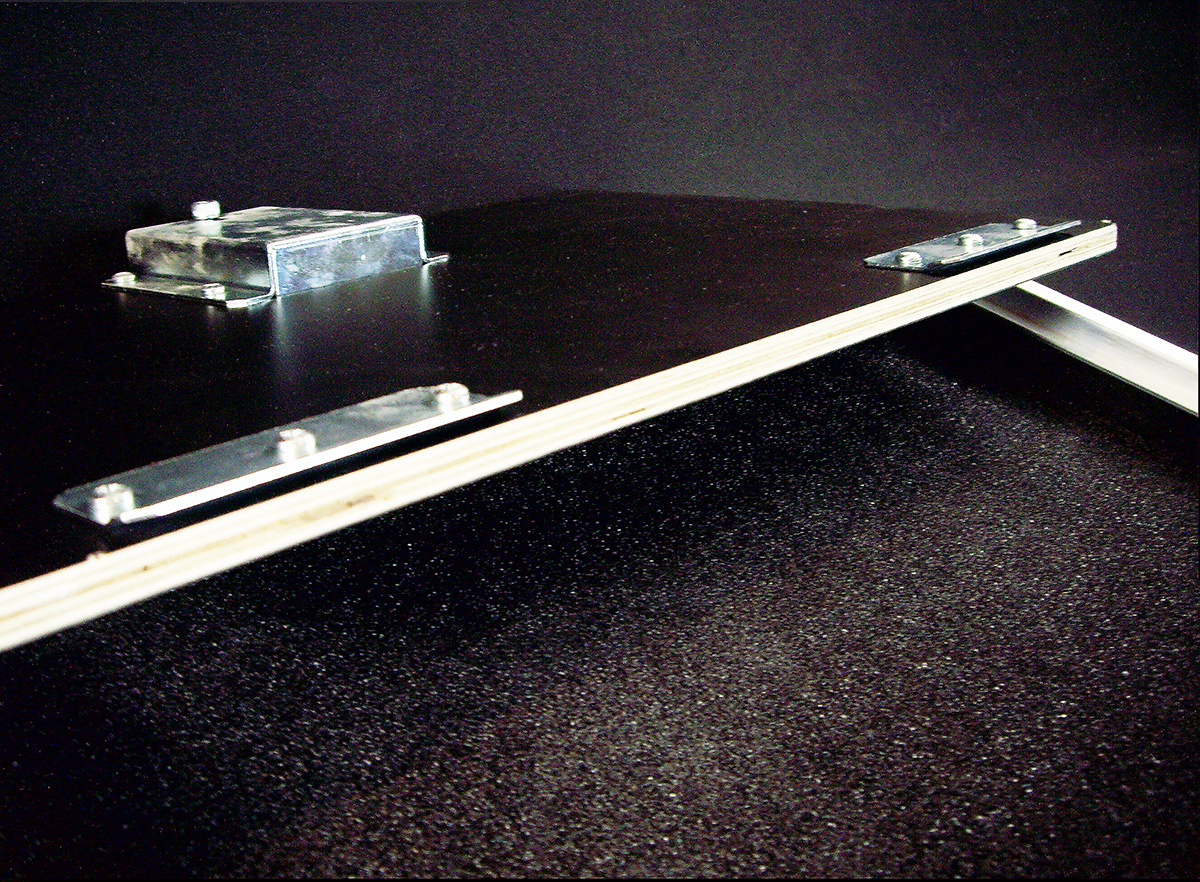
#4 - As you detach the removable panel, you can see the two hook plates with their offset flanges that grab the lip of the custom extrusion. Together with the internal spring-loaded latch(es) these hook plates act to firmly secure the panel to the extrusion framework. The latch can be installed with wood screws for a "clean" exterior look, or with rivets just as you would install any other part (and since this latch is internal, just make sure the rivet is installed so that the rivet head is on the EXTERIOR of the case!)
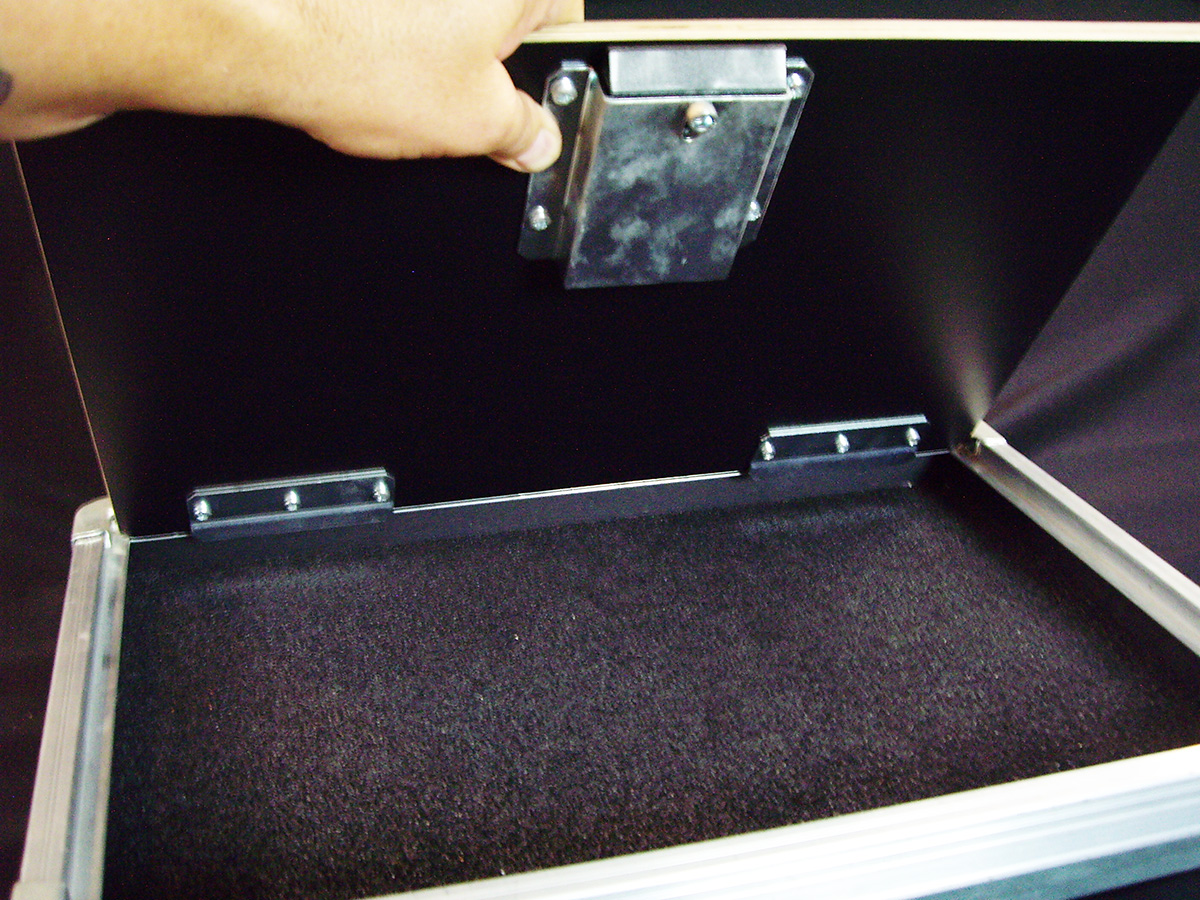
#5 - Here is a reverse view of the two hook plates and their offset flanges that grab the lip of the custom extrusion.
